Free Online Certificate Maker
Create a certificate worth showing off

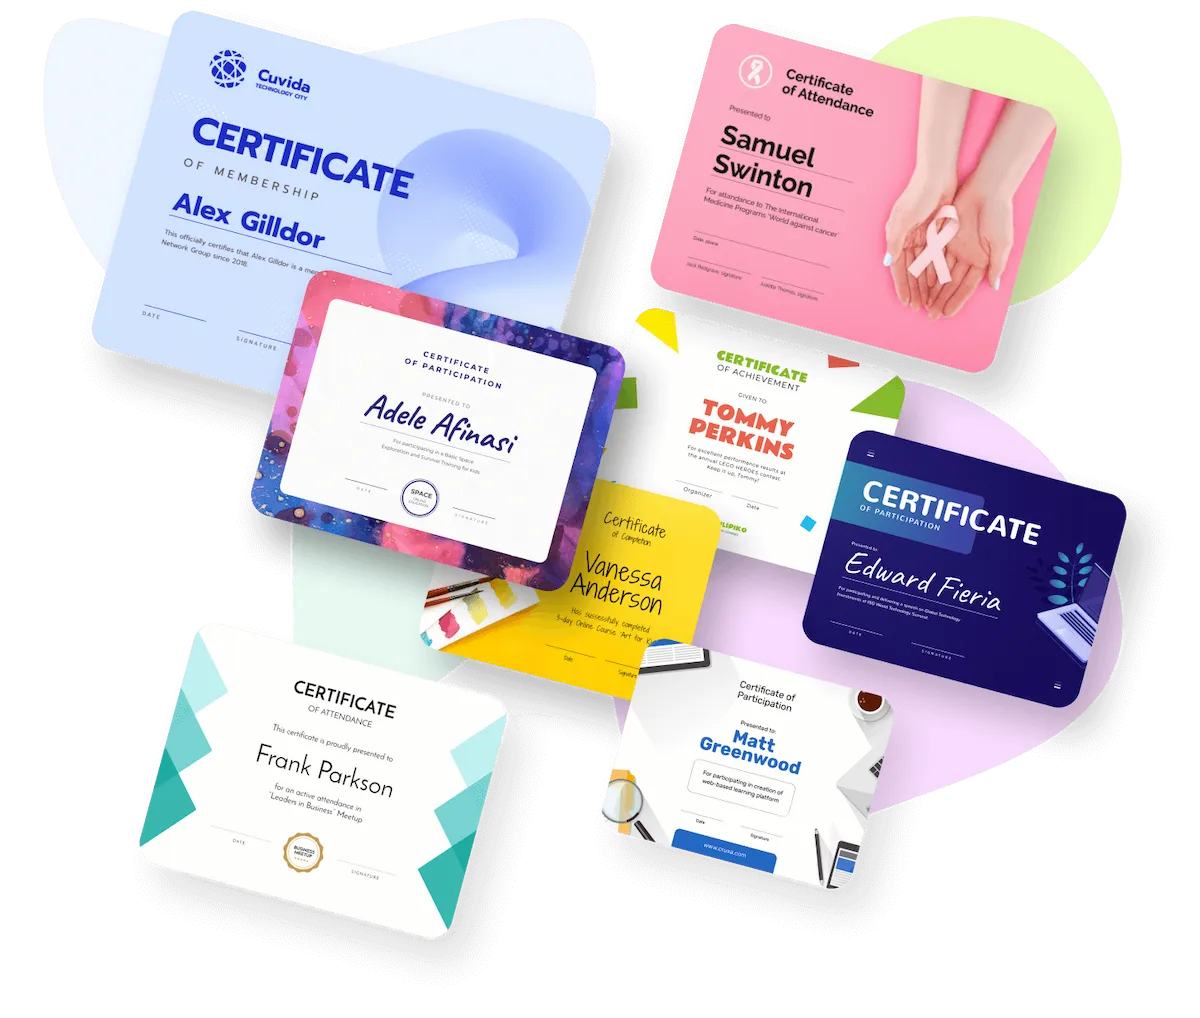
Everything you need for the perfect certificate design
Find any template for your ideas


Enhance your words of recognition

Add various design objects


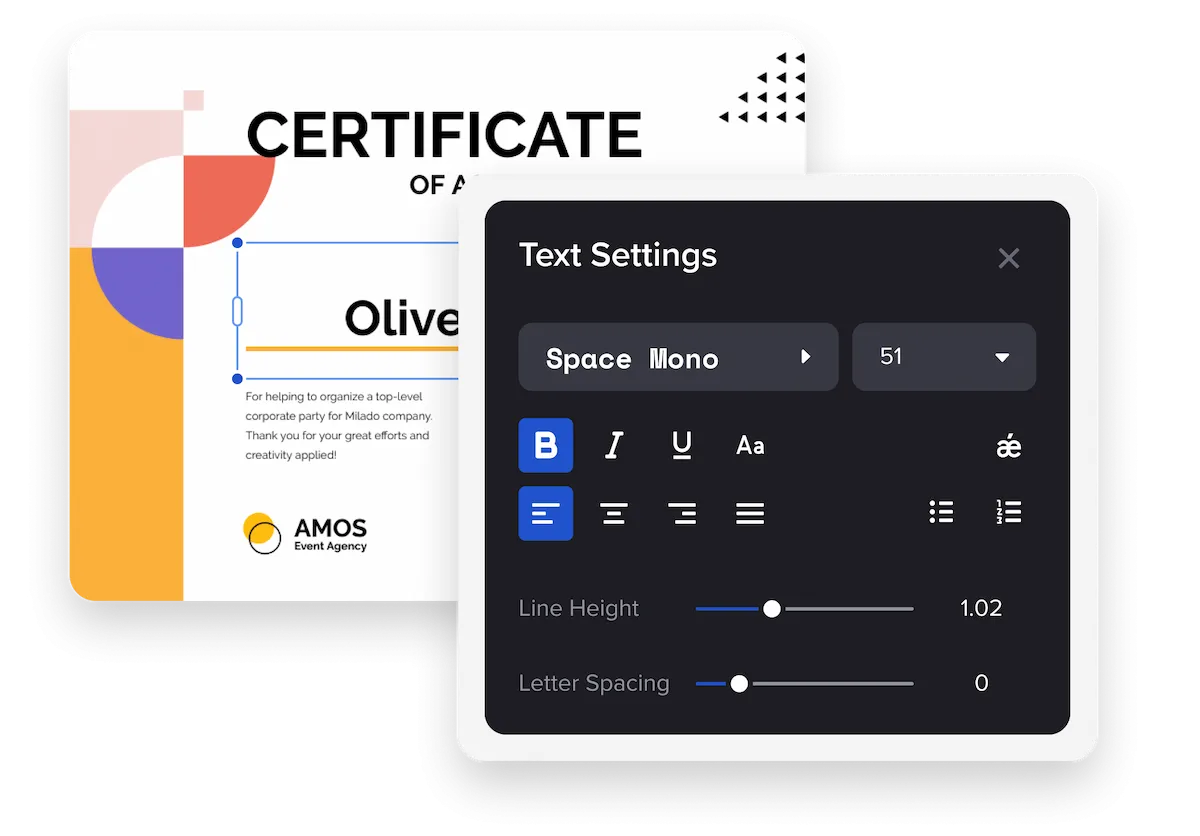
Customize any element you want
Upload your own content


How to make certificates in VistaCreate
-
Step 1
Select a template
VistaCreate offers certificate templates for different occasions. Check them out!
1. Sign in to VistaCreate. Log in to your account whenever you edit templates to save your designs automatically.
2. Select a format you need. Enter “certificate” into the search bar on the VistaCreate homepage to find the necessary format.
3. Explore certificate designs. Select a template that matches your brand style or creative idea. Use keywords to find a perfect template faster. -
Step 2
Customize the design
Make your certificate unique by personalizing it.
1. Start with colors and fonts. Use company colors and fonts to create certificates that are consistent with your visual style. Add your logo.
2. Personalize the message. Edit text on your selected template based on the topic of your certificate. Keep it concise.
3. Add images or objects. Make your certificate unique by uploading your pictures to the editor. You can also add fun objects to the design. -
Step 3
Download and print
Download your certificate and get it printed.
1. Collaborate on your project. Create a team account and invite up to 10 colleagues to collaborate on your certificate design.
2. Download and print. Download your certificate in PDF Print format or order prints right from the platform.
3. Share your design. You can also share your certificate online right from VistaCreate. Just copy a link to it.
Tips on making a certificate
-
If you want to print a certificate you made in VistaCreate — there’s nothing stopping you! Just keep in mind that the printed certificate will only look as good with quality ink and paper. To create a certificate for print, pick a template you like, customize it, and download your ready-made design in PDF Print format. This will help you maintain quality.
-
Create a printed certificate to show off your performance. Just pick a template you like in VistaCreate, customize it, and download it in PDF Print format. You can laminate your printed certificate for durability, or frame it to be hung on the wall. However, we do not recommend doing this with important documentation that, for instance, verifies your identity. It’s better to keep it in a neat, dark place, so that it’s protected and preserves well.
-
It’s easy to make a certificate design with specific requirements in VistaCreate. You don’t always need to pick a template to get started. Choose a blank canvas on the homepage and enter your custom dimensions. What’s more, is that you can resize an already-existing design using the smart resizing tool in our certificate maker.
-
Want to design certificates from scratch, but don’t know where to start? Explore tons of design ideas in our free certificate maker and get inspired! Type “certificate” into the search bar on the VistaCreate homepage, browse the ready-made certificate templates, and start making your own visuals.
FAQ
-
How do I resize my certificate design?
Design personalized certificates online and quickly resize them to different formats in our free certificate maker. To do so, open your design in the editor and find the “Resize” button on the header menu. Then, pick a desired size from the preset options or set a custom size for your project. -
Can I create certificates from scratch?
Of course! You don’t always have to use ready-made templates from certificate makers. To create a certificate from scratch, choose the corresponding format and pick a blank canvas. Then, browse our media library to find backgrounds, images, and objects for your visual, or upload your own. Place design elements onto the artboard and tweak them with convenient features and tools in the certificate creator. Add an expiration date to your certificate and a brand signature — if needed. -
How do I transform design objects on a certificate template?
The “Objects” tab on the sidebar menu contains various elements for making your designs more unique. These are shapes, lines, borders, icons, etc. To add a new object to your design, select a suitable element, then drag and drop it onto the artboard. You can also upload your own files to the certificate generator and add them to your project. -
How do I customize my text?
Add a text block to the artboard and write your copy. Then, click on your text and access various editing options on the header menu in the certificate maker. You can change your text font and color; adjust the opacity; and customize the style. You can even animate your copy using various animated effects in the VistaCreate certificate maker.
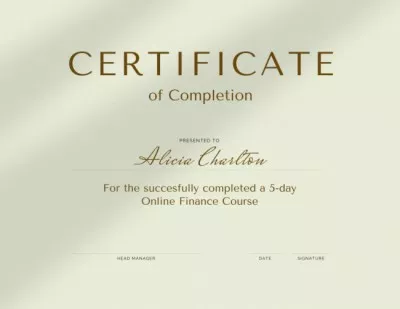
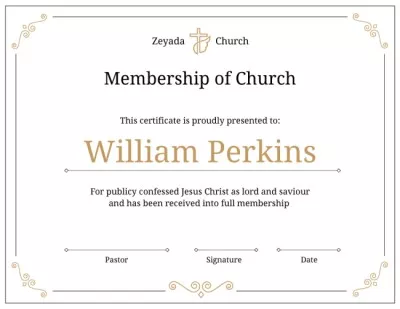
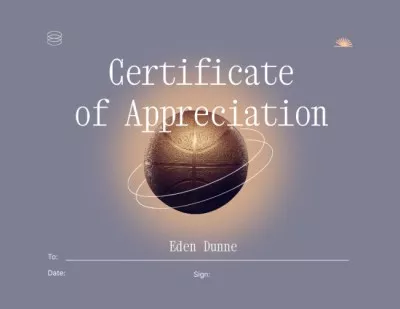
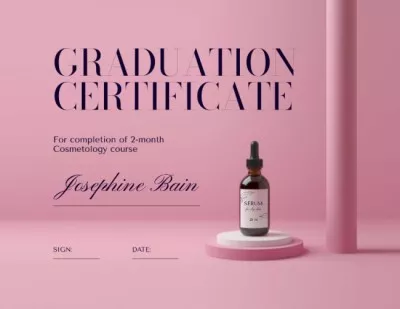
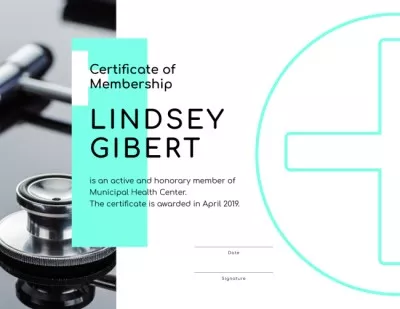
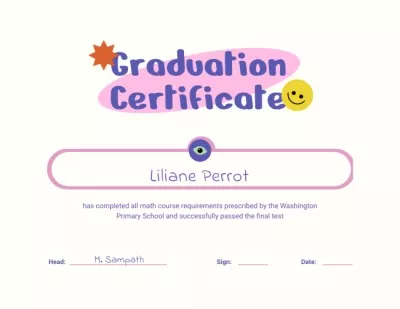
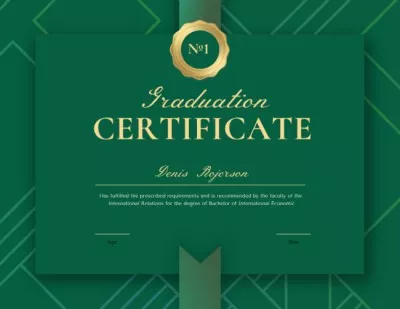
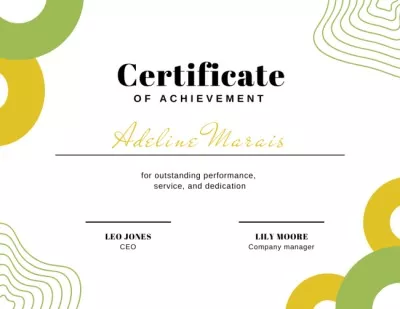
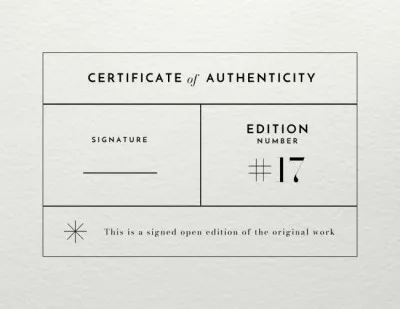
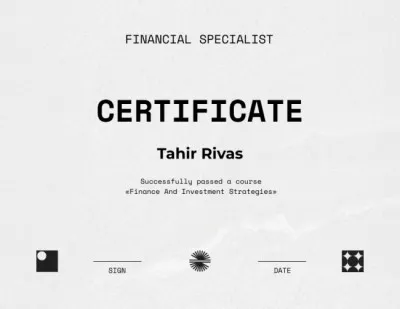
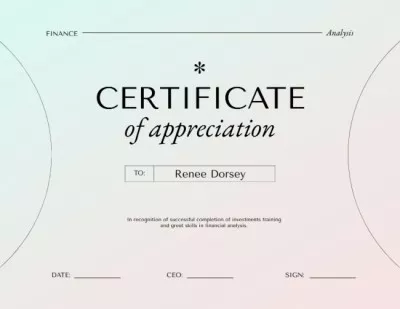
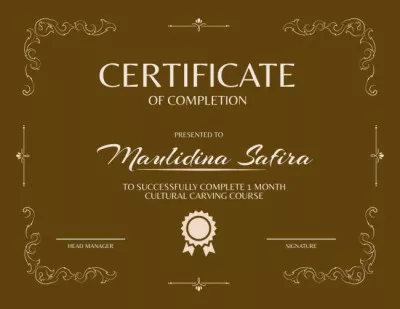
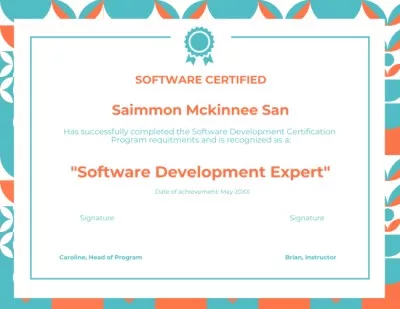
Professionally-made certificate templates
Design ideas for any occasion

What our users say about VistaCreate


Featured on