Create YouTube Thumbnails that Get Clicks
YouTube states that 90% of the best-performing videos have custom thumbnails. With our free design editor, you can effortlessly create YouTube thumbnails in your preferred style. Make an eye-catching design for any video content with the VistaCreate thumbnail maker, and gain more likes and subscribers to your channel.
YouTube thumbnail maker for custom designs
Enhance your video projects with aesthetic DIY thumbnails. With various editing features and graphic design objects in our free YouTube thumbnail maker, you can easily bring any design idea to life and impress with your thumb-stopping videos.

Powerful tools for thumbnail design making
You’ll knock out amazing designs in no time with VistaCreate. Access thousands of design objects, hundreds of YouTube thumbnail templates, plenty of easy-to-use tools, and generate standout visuals for your channel.
Start with a template
There is no need to create a YouTube thumbnail from scratch. Access hundreds of templates for YouTube made by professional designers and easily adjust them to your video projects. Choose the perfect template for your YT thumbnail design and start working on your creation.


Add a personal touch
Personalize your YouTube thumbnail design by uploading your own content. Find the “Uploads” tab on the sidebar menu and easily upload your own photos, videos, and other graphic elements. Add your own content to the VistaCreate design generator and make YouTube thumbnails that stand out.
Edit your thumbnail
You can customize everything about your template. Add your text, play with fonts and backgrounds, upload your own images, and easily make click-worthy video thumbnails in our YouTube thumbnail creator.
Repurpose your thumbnail
After creating your YouTube thumbnail, you can easily resize it to other popular design formats. If you need a non-standard size for your design, you can also set custom dimensions right in the editor.


Get creative on YouTube
VistaCreate offers static and animated objects so that you can embellish your YouTube thumbnail with illustrations, stickers, icons, frames, and more. Choose from thousands of design elements for any topic and theme and enhance your visuals.


-
Access thousands of premium templates for your projects
-
Design using files from a library of 150M+ photos, videos, vectors
-
Remove backgrounds from your images with a single click
-
Unlock infinite Brand Kits, unlimited storage, and version history
-
Collaborate with up to 10 members in your Team Account
-
Make your own stickers, quickly resize designs, and more

Plenty of photos
VistaCreate offers a huge library of creative assets to cover your design ideas. Access 70M+ stock images, videos, vectors, and more, and easily create aesthetic YouTube banners to amaze your audience.

Plenty of fonts
With the VistaCreate YouTube thumbnail maker, you have over 680 font styles in 25 languages to choose from. You can also upload your own typography style to create custom thumbnails that suit your branding.

Design objects
VistaCreate’s library of over 53,000 unique design objects opens up a world of unlimited creative opportunities. Browse thousands of static and animated design elements, and choose any of them to enhance your YouTube thumbnail.
How to make a custom YouTube thumbnail
-
Step 1
Choose a template
Sign up on the VistaCreate thumbnail maker or log into your account so that your designs will be autosaved. Type “YouTube thumbnail” into the search bar and explore hundreds of professional thumbnail templates. -
Step 2
Customize your layout
Experiment with various design tools in the video thumbnail maker to get a more personalized design. Upload your video snapshots, add your brand fonts, and play with coloring styles to create an attractive YouTube thumbnail. -
Step 3
Make extra edits
Rearrange the elements on the canvas or animate any of them to make your design stand out. You can also complement your YouTube thumbnail with icons, stickers, and illustrations from the VistaCreate media library. -
Step 4
Download your design
Once you’re done with editing, download your YouTube thumbnail in one of the available formats. Publish your video content with an awesome thumbnail and start gaining views on YouTube.
FAQ
-
Can I make a custom thumbnail from scratch?
Of course! You don’t have to use the pre-made YouTube thumbnail templates in VistaCreate. Choose the design format you need and select a blank canvas to design from scratch. Use the editing tools and design elements in VistaCreate to enhance your DIY thumbnail and easily create top-quality visuals for your YouTube channel. -
How do I add design objects to my YouTube thumbnail design?
The “Objects” tab on the sidebar menu contains various text and design elements to make YouTube thumbnails more unique. This includes shapes, lines, borders, icons, etc. To add a new object to your design, choose a suitable element on the left, click on it, or drag it onto the canvas. Use the “Delete” button in the YouTube thumbnail maker or just drag the object beyond the artboard to remove it. -
How can I edit thumbnail templates in VistaCreate?
You can edit the text in your template: change fonts, text size, color, orientation, alignment, and spacing. Move objects between layers, flip, crop, copy, or rotate them to get a perfect layout. Plus, you can upload your own images or choose from millions of royalty-free photos in our online YouTube thumbnail maker. Use the Styles and Brand Kit functionality to align your video thumbnail designs with your brand identity. -
What makes a good YouTube thumbnail?
There are several ways to enhance your YouTube thumbnail design: include a short title, make sure your text is readable, use contrasting colors, leverage negative space between design elements, add a photo, and include your branding. You can also delete your image background in the editor to make your design less cluttered. -
How do I animate designs in VistaCreate?
Choose a YouTube thumbnail template to start with and go to the editor. Next, add the design element you want to animate. It can be a text, image, sticker, or any other object — the possibilities are limited to your imagination! Click the “Animate” button on the header menu, choose any available animated effects, and voilà! Experiment with the animation feature and create thumbnails that draw more attention to your YouTube channel. -
Do I need to install any software to create thumbnails?
Forget about complicated design programs. With the VistaCreate free thumbnail maker, you don’t need any extra software to make a YouTube thumbnail for your video online. All you need to do is create an account or log in to an existing one. You can also download the VistaCreate mobile app and make custom designs on your phone. The app is completely free. -
Can I edit my YouTube thumbnail after I download my design?
Sure! Perfect your design as much as you want to create an eye-catching design. All your designs are automatically saved in your VistaCreate account. So, come back anytime and make your YouTube videos even better. Just make sure you’re logged into your account. -
What size is the best for YouTube video thumbnails?
The recommended size for a thumbnail design is 1280 × 720 pixels; the ideal ratio for YouTube previews is 16:9. However, you don’t need to worry about project dimensions with VistaCreate. Browse file formats in the editor, select the one you need, and create a stunning YouTube thumbnail for your video.
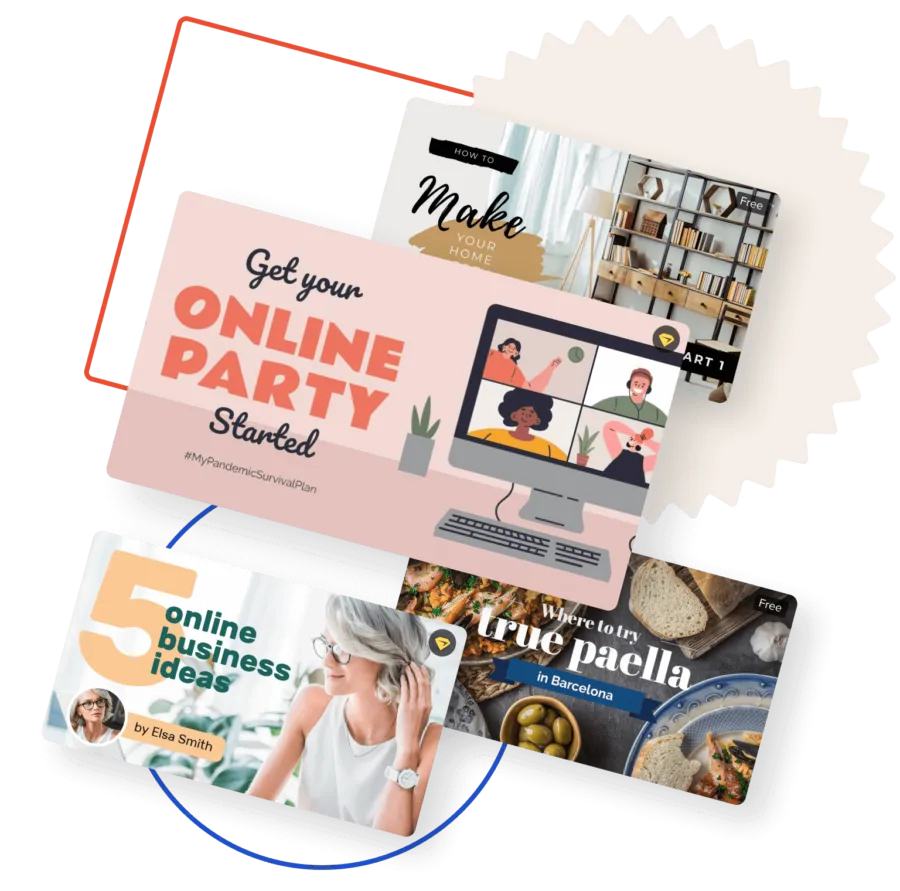
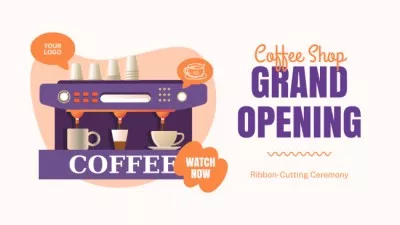
Hundreds of YouTube thumbnail design ideas
Unleash your inner creator with fully customizable YouTube thumbnail templates for any video topic and theme. Find the right template for your design idea and easily create stunning thumbnails.
150,000+ templates for your visual projects
With VistaCreate, you can make studio-level visuals on your own. Access thousands of professionally designed templates, easily customize them, and create standout visuals for advertisements, websites, blogs, social media, and other needs.


What our users say about VistaCreate

Charlotte Polley
UK
owner of Boo’s Toy Shop.
Using VistaCreate has enabled me to grow my marketing and content skills. People have noticed that my content has changed across social media and I am loving the comments.
Read Charlotte’s story

Jennifer Parr
USA
founder of DIYvinci, an online arts and crafts store.
When you’re a small business owner wearing multiple hats, using a tool like VistaCreate that saves time is crucial. You also don’t have to spend a huge amount of money to be able to develop good designs for your company.
Read Jennifer’s story

Kirsty Cleverly
Australia
owner of Bonjour Quilts, an online quilt pattern store.
My visuals now look better than anything I could just come up with on my own. VistaCreate makes graphic design so much quicker and easier for me, leaving me with more time to put back into my business. It has been such a force multiplier!
Read Kirsty’s story

Lisa Harvey
USA
owner of Content Perfection.
VistaCreate has massive functionality and I love that it’s just so easy to use. It allows my ideas to come to life. And that has helped me with selling my services and products to clients and prospects tenfold.
Read Lisa’s story

Rick Blyth
USA
Micro SaaS apps developer.
It’s just so quick to create graphics using VistaCreate that it almost feels like cheating. As everything is fully customizable, I’m able to quickly create designs consistent with my brand very quickly.”
Read Rick’s story
Featured on